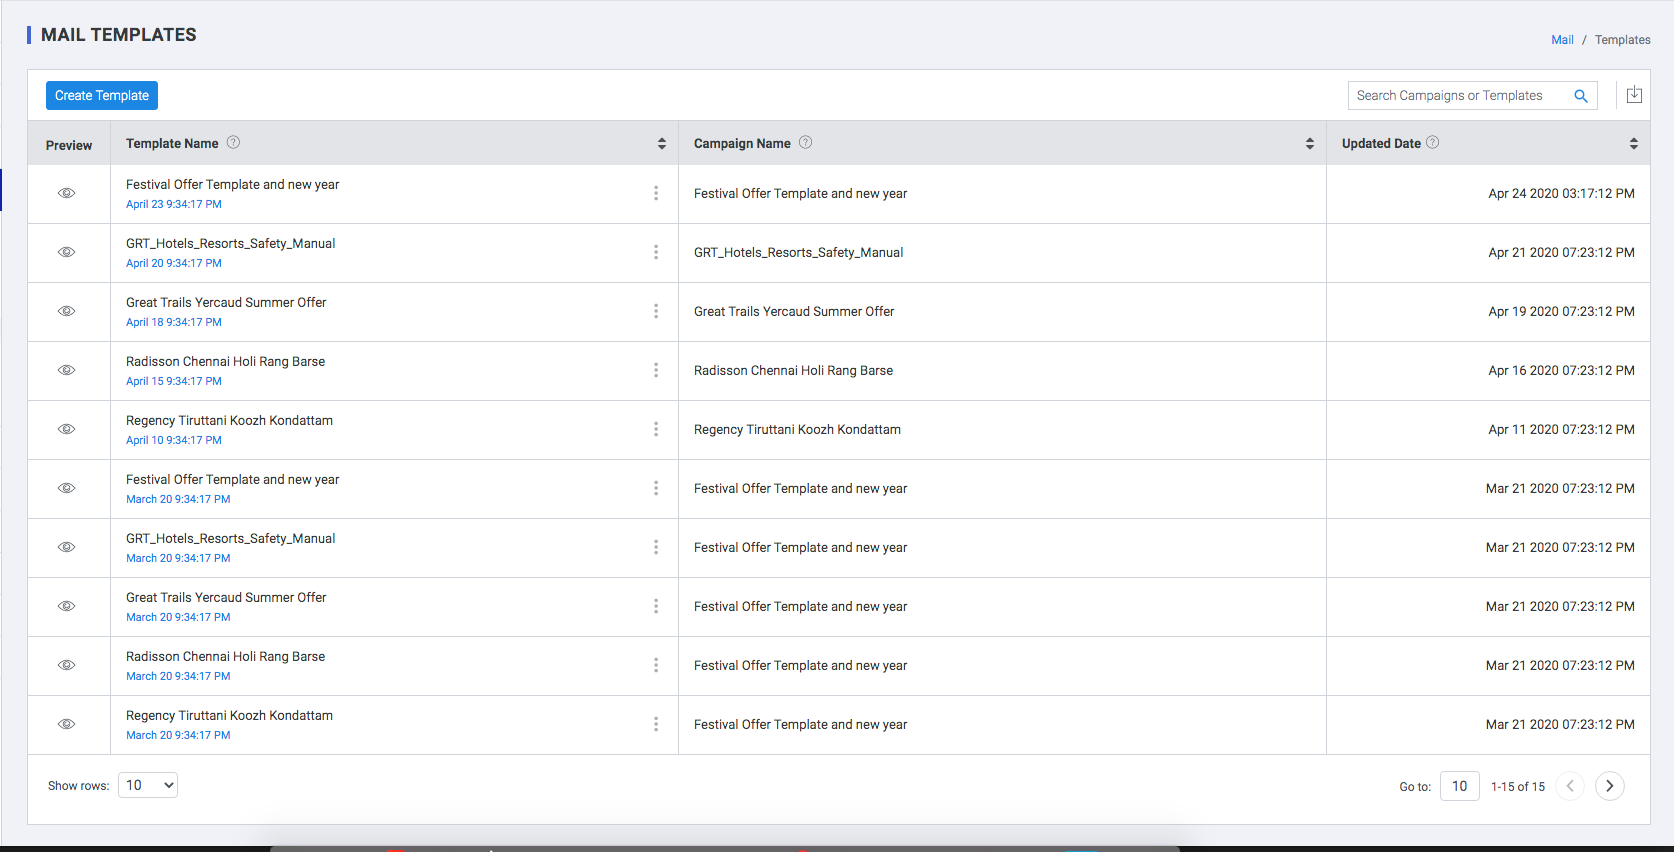
Manage Templates
With templates, you can save repetitive email content as an email template. Before sending a template, you can personalize and tailor the content to your recipients. You can access templates in the manage campaign section.
Create Email Template
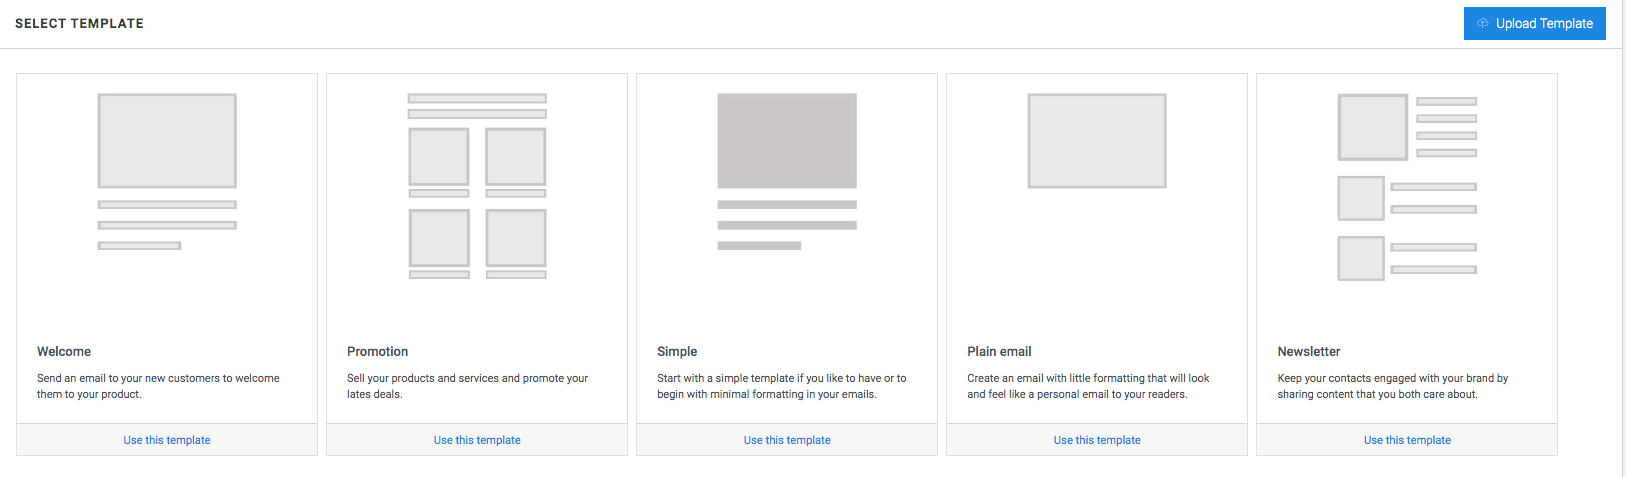
Basic
The basic library consists of 5 elementary HTML structures that can easily be edited and built upon to create that perfect layout.Simply select a template that falls in line with your requirements, customize it by adding text, video, image, button blocks.
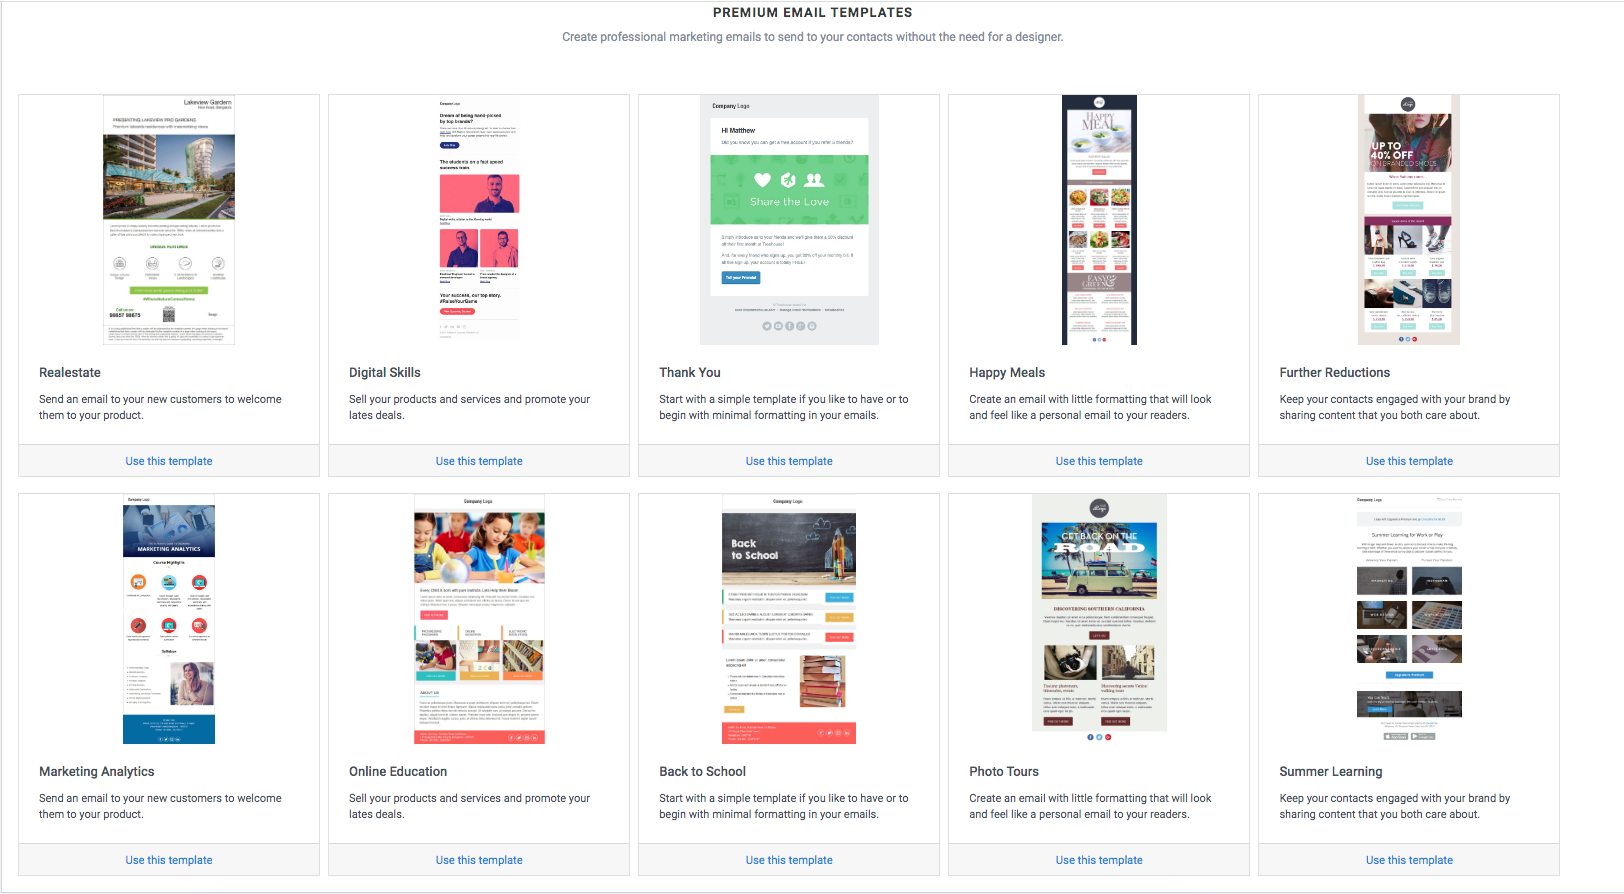
Advanced
The advanced library comes packed with stylized templates, specially designed to convert any text message into a visually engaging delight. Select a layout that matches your messaging needs, customize the text, color, fonts images, buttons, links.
Configuring message settings
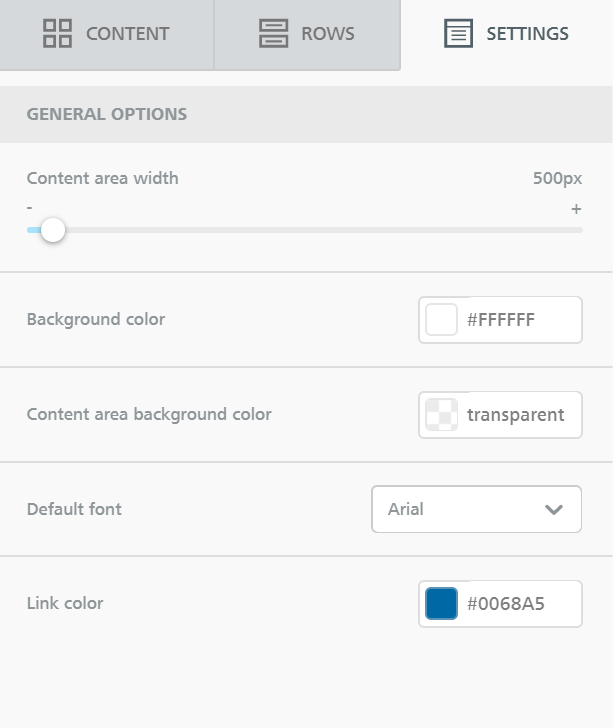
Content area width:
set the width for the content area. This is used when the device has a screen larger than that width. You can think of it as a maximum width for that content area. On small devices, it will be ignored.
Background color:
the default background color for the message. You will be able to override it at the row, column, and content block level when settings properties for those elements.
Content area background color:
the default background color for the content area, which is the area for which you set the Content area width above.
Default font:
the default font family that all content elements in the message will inherit. Of course, you can overwrite this selection at the content block level.
Link color:
the default link color that all links will inherit unless you overwrite it for individual elements.
Rows
Here you can find different types of rows to insert into the message. You can also create your own custom Saved rows.
Rows are structural units that define the horizontal composition of a section of the message by using columns. A row can include one to four columns.
Using more than one column allows you to put differ
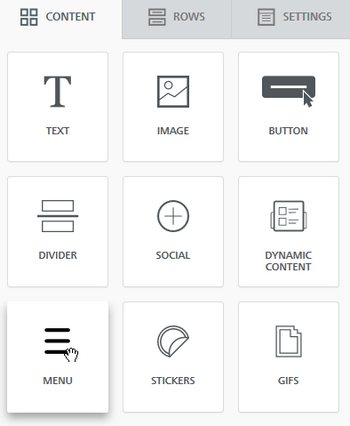
Content
This section includes a series of tiles that represent the different kinds of content you can use in your message. More will become available in the future. To use them, just drag one inside a column, it will auto-adjust to the column width.
Every content block has its own settings, such as granular control on padding. The right-side panel automatically switches to a property panel for the selected content element.
Menu
If you want to add a simple, text-based navigation element, you can take advantage of the Menu block available in the content tab.
After dragging a Menu block to the stage, you can start adding menu items by clicking on Add new item in the Content properties area.
After you're done adding the items needed for your menus, you can set properties for each.
- Text
- Link type (web page, email, phone, sms)
- Target, i.e. if clicking the link should open a new browser tab or stay in the same tab
- Title (optional), i.e. a secondary text that appears when hovering on the menu item
You can reorder menu items by dragging the icon found to the left of the menu item title.
Scrolling down to the properties in the editor sidebar, you will see a few properties that are specific for your Menu.
- Items can be displayed horizontally or vertically by changing the layout
- A custom text separator for items can be added.
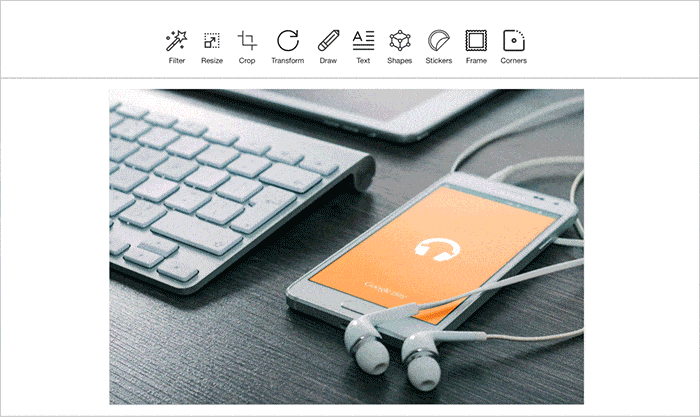
Editing Images
The editor includes an image editor that allows you to easily crop, rotate, resize, apply filters/frames, add stickers... and much more - to any image, without leaving the editor. We recently updated this tool with a new one that provides several benefits and an overall enhanced user experience, including faster performance, a bigger work area, and better reactions to user modifications!