Manage Chat Rooms
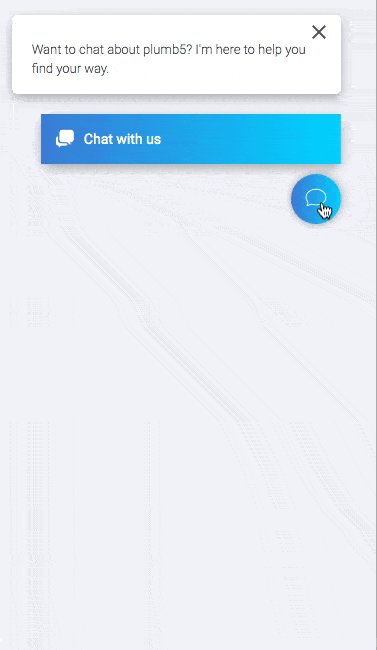
Manage & create live chat rooms to connect visitors directly with members of your team. Plumb5 live chat will appear as a widget on your website pages that visitors can click to start a real-time conversation with someone on your team. You can create a live chat to connect a visitor on your pricing page to a member of your sales team, or another live chat that connects a visitor on your knowledge base articles to a member of your support team.
This Article is divided into the following 3 main sections
- Manage Chat Room
- Create Chat Room
- Agent Sign-In
Manage Chat Room
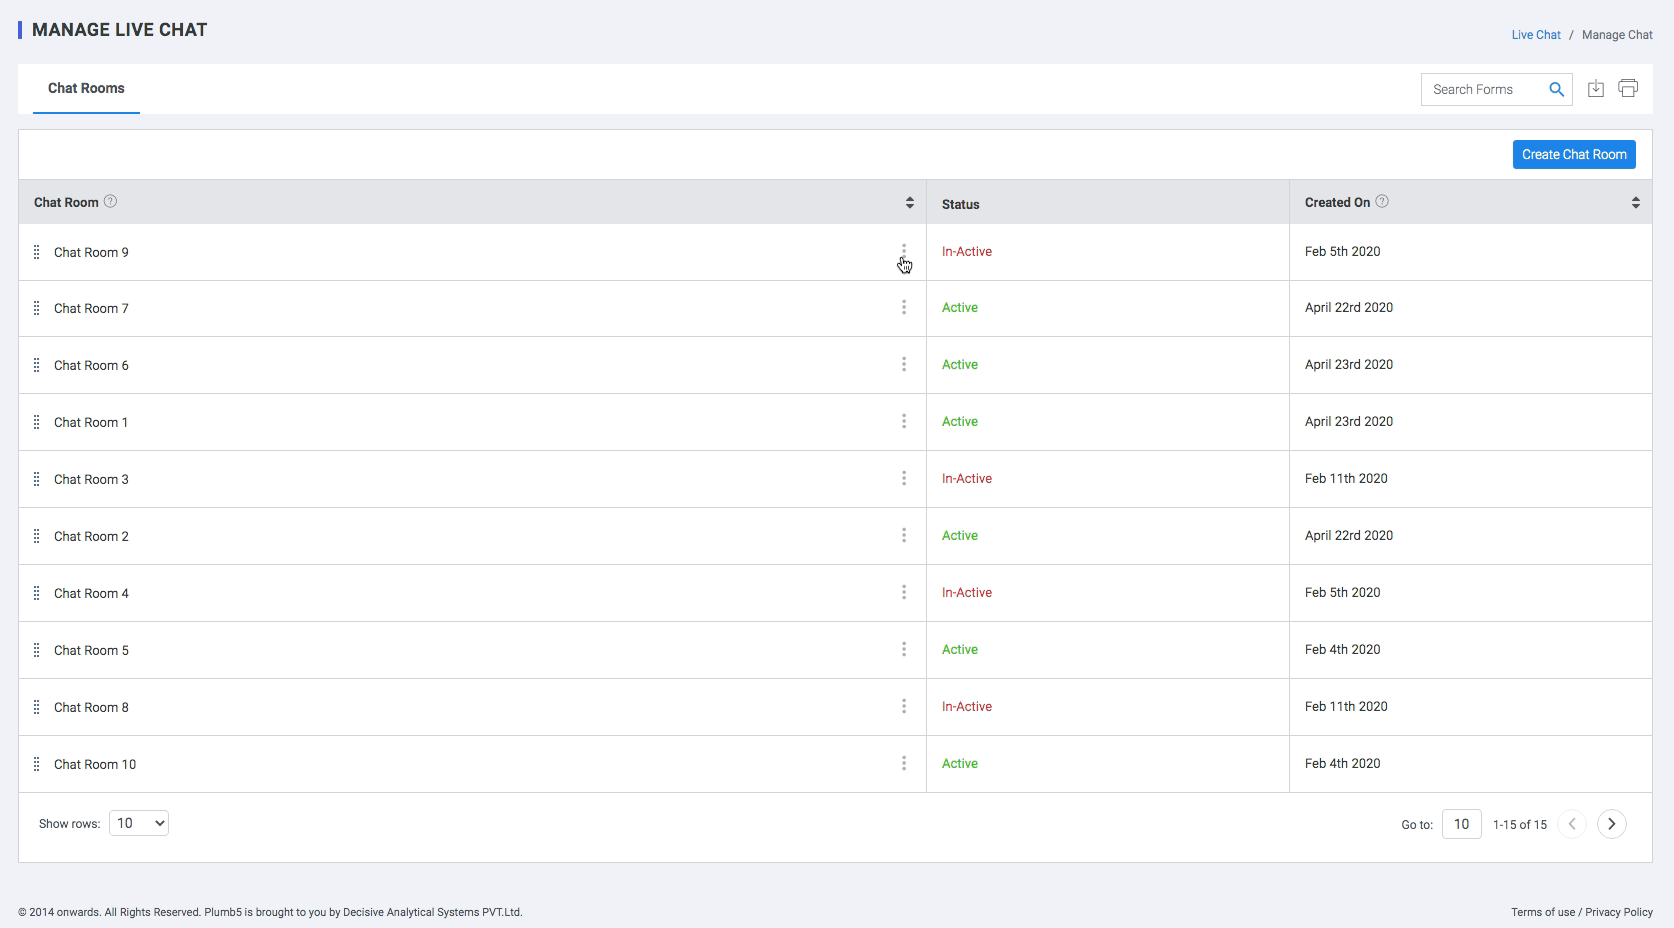
This screen gives you a list of all the chat rooms that have been created. You can use this module to
- Edit & Delete chat rooms.
- Activate or Deactivate the chat.
- Change the priority of the chat rooms by dragging the rows as per your requirement.
- Preview, Sign-in and view responses for each chat room from the context menu.
- Create a Chat Room.
- Search Chat Rooms
Create Chat Room
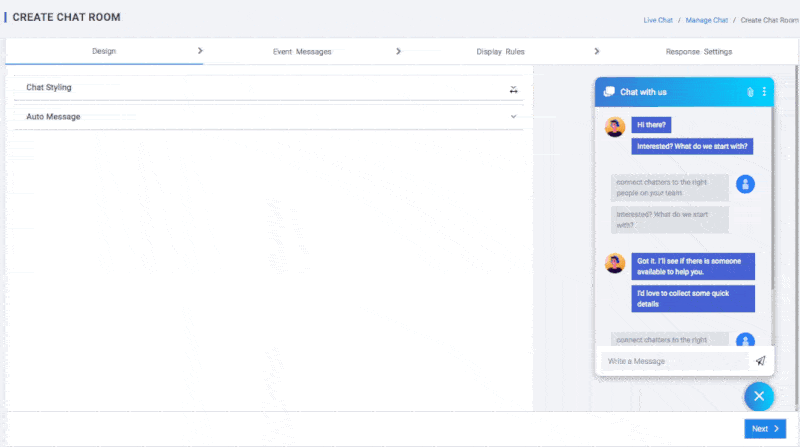
Create a branded chat experience for your visitors. Here you can create and design your chat room. This module is divided into two sections.
1.Chat Styling
Following customizations parameters have been provided:
- Chat Room Identifier : Unique identifier for the chat room
- Chat Header : Customize the heading text of the Chat Widget (max. 25 characters)
- Minimised Window : you can change the style of the minimized window. Choose between a simple yet functional Bar and a modern and minimalistic Bubble.
- Bar
- Bubble
- Position : Decide where the chat widget should be placed on your website. You can choose between left and right.
- Left
- Right
- Choose a background color : Select Theme color to use one of our predefined sets. If you want to edit the accent color, click on the first option on the right. A color picker will pop-up.
- Chat Foreground Color : Select foreground text using the color picker pop-up
- Pre-Chat Survey : Use the pre-chat survey at the beginning of each chat to collect relevant information about visitors. Asking users for their name, email or customer ID speeds things up, as you can skip those questions later in the chat. Having such knowledge at hand, you are prepared to provide a better, faster and more personalized service.
- Name : collects user’s name (this field can be used only once in a survey).
- Email : collects user’s email (this field can be used only once in a survey).
- Phone Number : collects user’s phone number (this field can be used only once in a survey).
- Desktop Notification : your customers will be notified about a new greeting and a new message received in a chat by a Browser notification.
- Assigned Sound: your customers will be notified about a new greeting and a new message received in a chat by a sound notification. This should get their attention whenever they, for example, minimized their browser while talking with your agents. However, if you’d like to disable those sound notifications, simply switch this option off.
2.Auto-Message
This panel can be used to create automated messages during inactivity periods. You can create multiple messages based on a specific delay in time.
- Time : The amount of time delay after which the message should appear.
- Message: The body of the message
- URL: The message can be linked to a URL on click.
Agent Sign-In
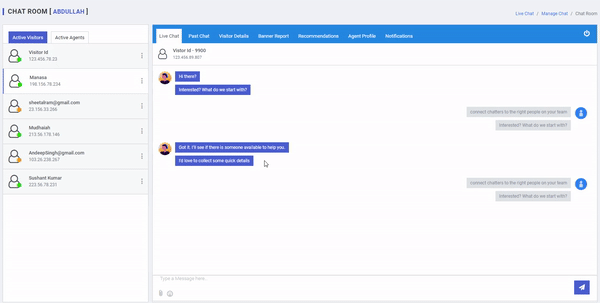
Here you can chat with the visitors coming to your chat rooms. This panel is divided into 2 sections
-
Left pane
- Active Visitors : List of all the active visitors on your website. The green & yellow icon shows the active & idle status respectively
- Active Agents : this panel show the list of other agents who are currently online
-
Right Pane
-
Live Chat : This is the active chat window that can be used to send messages,attachments & Emojis.
-
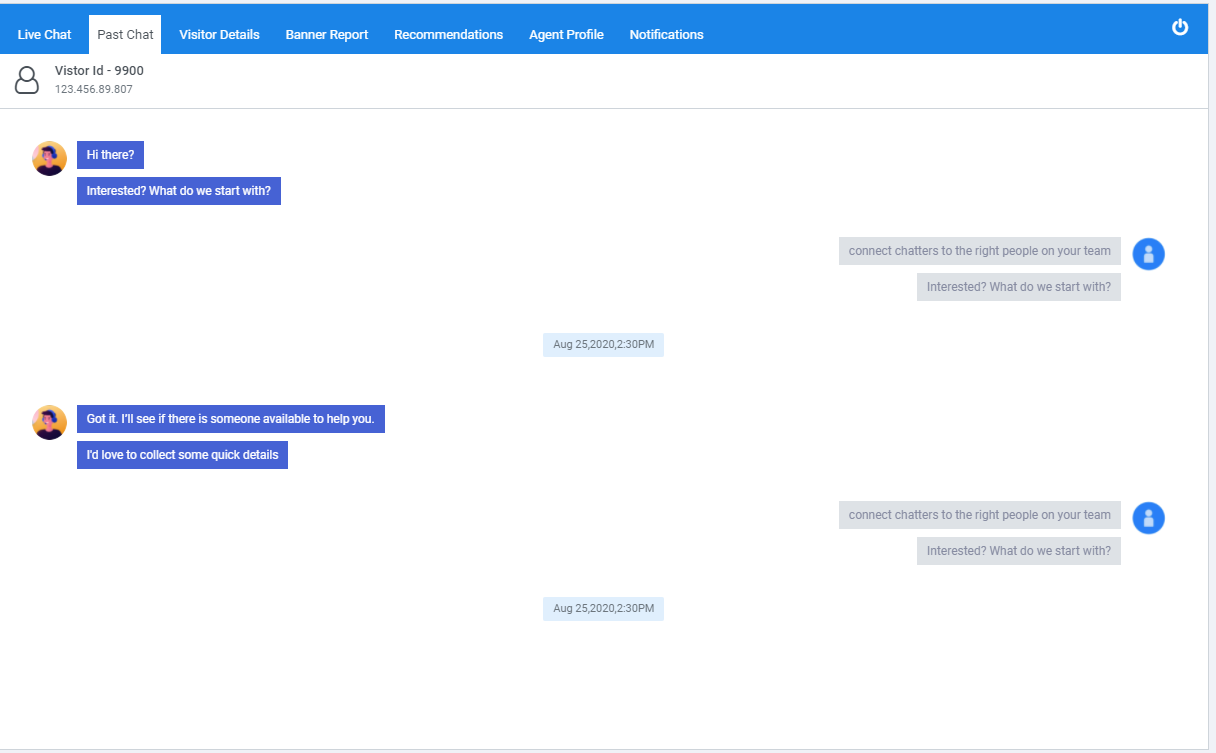
Past Chat : Here you can view transcripts of all the past chat with this visitor or Customer
-
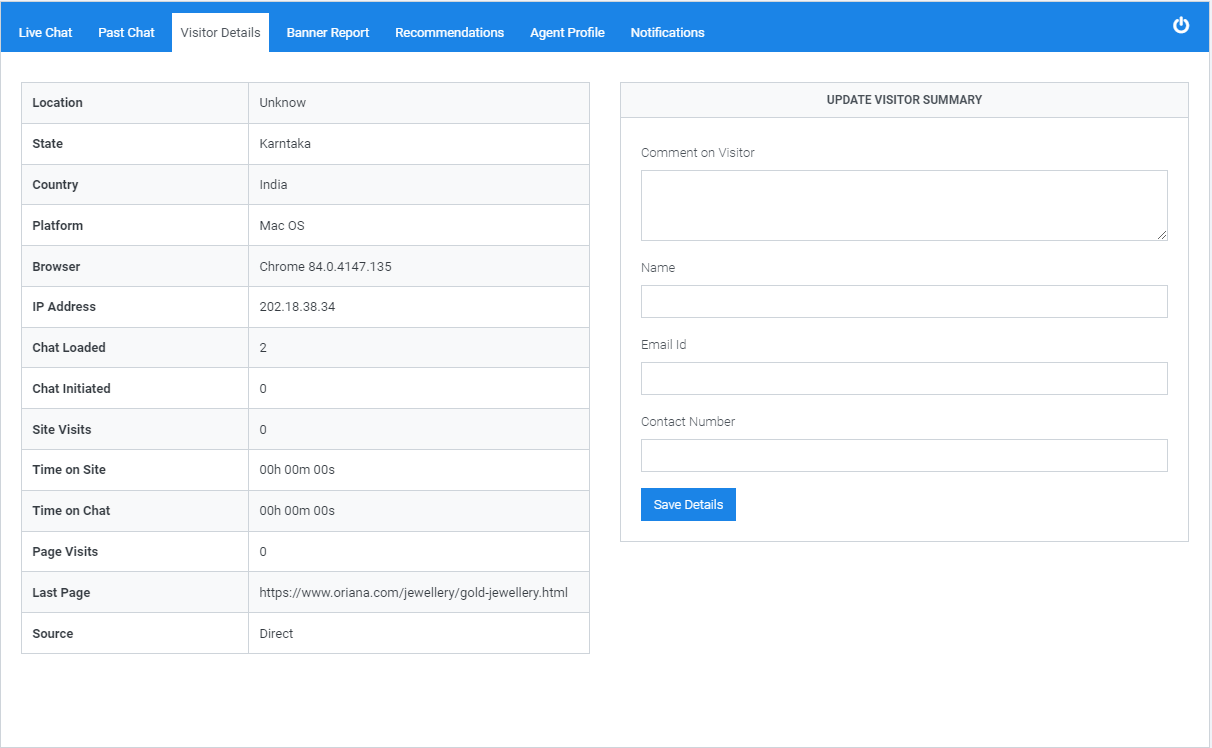
Visitor Details: Unified Customer profile of the Visitor
-
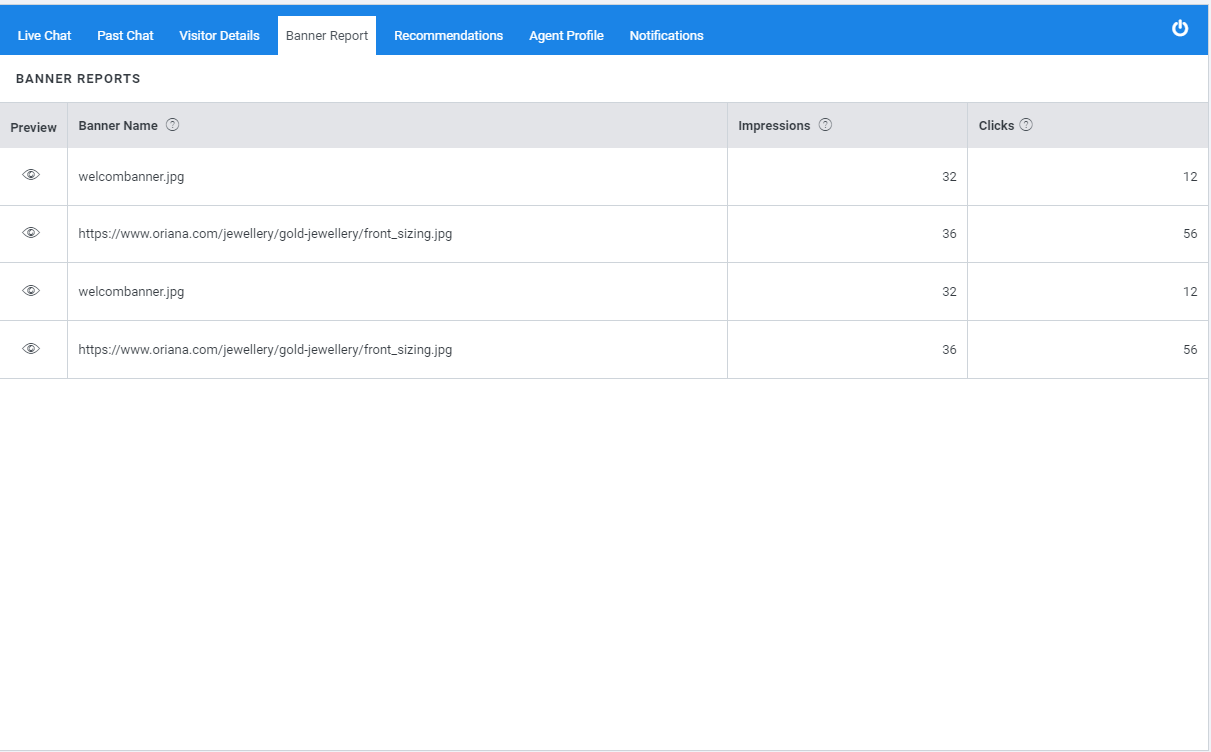
Banner Report : Report of the recommendation banners sent to the visitor and their activity metrics
-
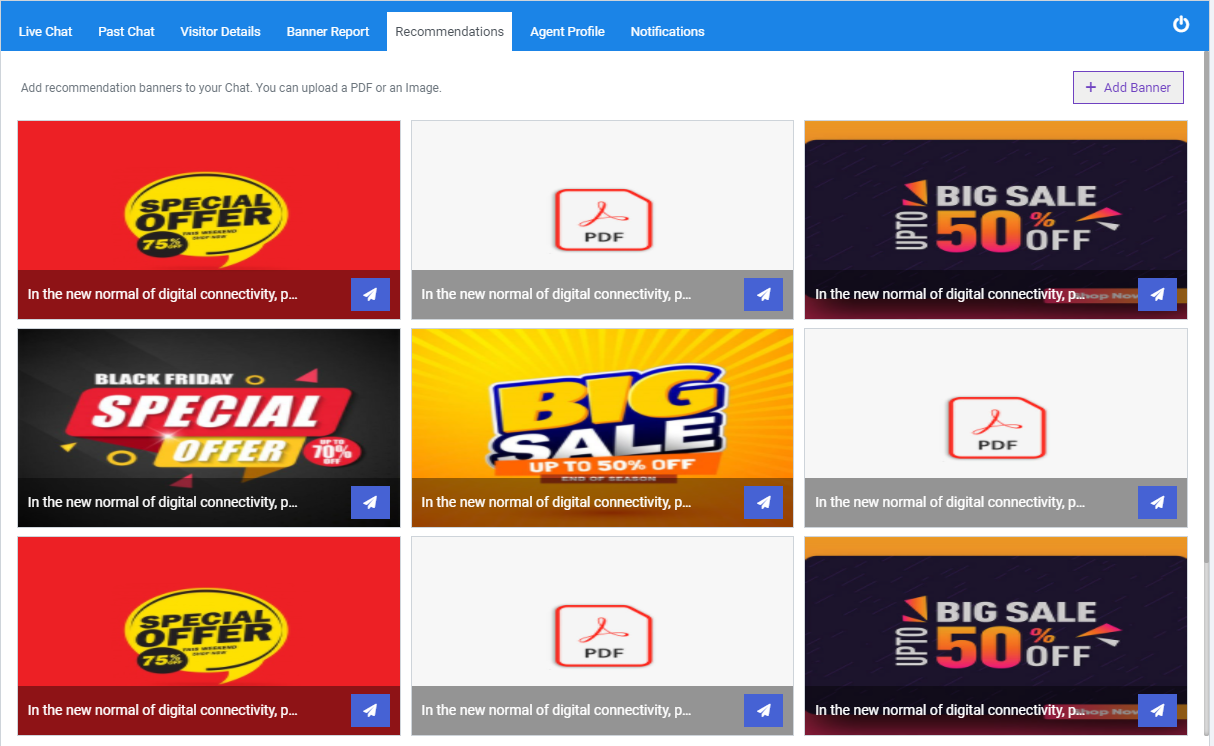
Recommendations: Here you can select banners to send to the visitor
-
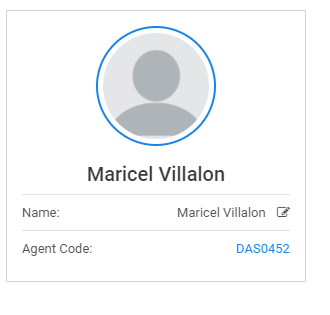
Agent Profile : Change your Display name and Picture for the chat.
-
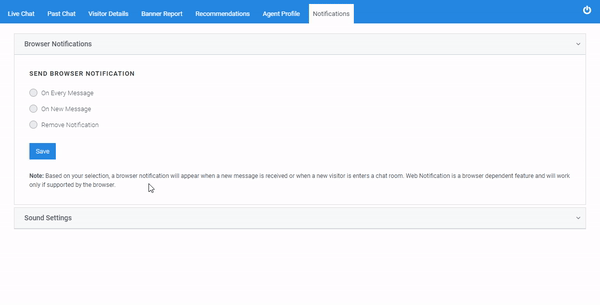
Notifications: you can choose to send Audio or browser notification for the following 3 conditions
- On Every Message
- On New Message
- Remove Notification